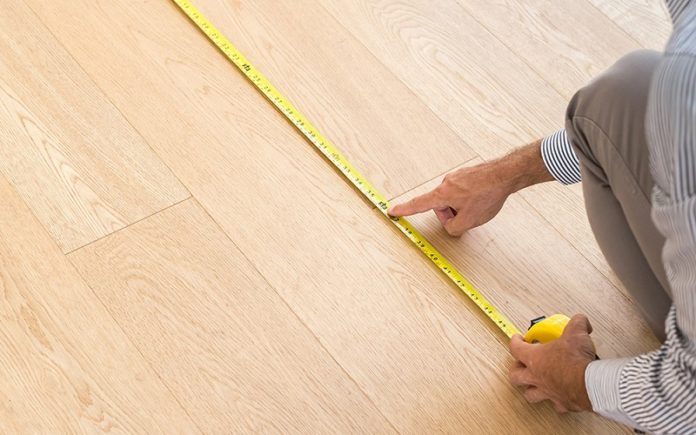
Building surveys are one of the staples of the early stages of any architectural project. Although this task is commonly now outsourced to specialist surveyors for larger projects, especially in the new BIM world, smaller schemes such as residential renovations and extensions can still require an architect’s surveying tools. With that in mind, we have created a list of specific considerations and tips for measuring interior spaces.
Equipment for Measuring
Before attending the site, make sure to include the following essentials (courtesy of Studio Craft and Technique):
- Tape measure
- 2mm lead clutch pencil
- Fine pens in two colors
- Eraser
- Sketchbook
- Camera
- A4 Clipboard
- Tracing Paper
- Grid-line paper
- Calculator
- Ruler
- Compass
- Laser pointer
- Spirit level
- String
- Tape recorder
- Phone
Also ensure you obtain any OS map of the site that shows the building, as this can allow you to orientate interior spaces to consider sunlight angles, views, and planning issues.
Researching Before You Survey
Before surveying, carry out as much research on the building and its spaces as possible. If photographs or old maps of the building exist, this will allow you to familiarise yourself with layouts and prioritize rooms for surveying. Many countries require planning application documents to be accessible online, and this will also allow you to investigate the layout through previous surveys and layouts.
Be Clear About The Purpose
Consider the purpose of the surveying exercise, and what key dimensions and information you will require. Carry out research on the planning drawing requirements for the project you are undertaking, and the level of detail required for interior spaces, existing and proposed. Also consider the brief, and how this will impact on what rooms require extra detail. For example, a brief for a rear extension to a house will require a more thorough understanding of detailed dimensions to the façades that will be altered.
Create a Symbols Legend
Create a legend of the various symbols you are likely to encounter, which we can added to on-site. This will include a standard way of drawing internal and external walls, doors, stairs, windows, and basic furniture. Also create a set of symbols for measurement styles, such as ceiling heights, parallel dimensions, and overall dimensions.
Tour The Building First
On site, take time to walk around the entire building before beginning your survey, to grow accustomed to the spaces and their relationship to each other. Look for peculiarities in individual rooms that may require more attention during surveying, and note them. At this point, it might be helpful to make an unofficial sketch plan of the building in your notebook to help you keep track of what rooms you have visited, and what needs surveyed.
Sketch The Room
Create an oversized sketch of each room that will be used to record your measurements, labeling each sheet by room name or number. Before you begin measuring, mark with a different color pen the key dimensions and figures you need to take. This is often not limited to plan dimensions but will include ceiling heights, window placement, and fixed furniture location. As with standard architectural plans, assume a height of 500mm to 1000mm off the ground when drawing your plan.
It is important to invest adequate time in this stage, as a carefully drawn set of plans and sections will result in greater efficiency both during and after the survey.
Measure The Room
When measuring the room, it is important to take two sets of dimensions. First, take a set of overall dimensions, recording key spans of the room such as the length of corridors, walls, and diagonals. Then, working in a clockwise way, begin taking detailed dimensions that subdivide these overall dimensions to include windows, doors, and other fixtures. For door and window openings, it is advisable to measure the structural opening rather than the inside of the frame, to avoid miscalculations if replacement openings form part of the design process. Finally, while most measurements can be identified in a floor plan, an internal section is always recommended to capture changes in floor heights and change in levels that cannot be picked up in a floorplan.
Make sure you are familiar with your equipment settings before beginning your survey. While laser measures are a profoundly useful tool, some will read measurements taking the length of the laser measure itself into consideration, while others will not do so by default. Even if you plan on using a laser measure for the survey, always bring a manual measure and ruler for smaller, or more complex areas around window frames for example.
Take Photographs
Photography is essential to an interior building survey. When taking photographs of interior spaces, it is best to take more than you feel is necessary, to avoid missing details, and with specific attention paid to complex rooms. It is also important to follow a procedure, methodically working clockwise around the room rather than indiscriminately photographing elements. When possible, digitally review all photographs of a room before moving on.
Also read:The Best Construction Estimating Software of 2020


